Saturday, January 25, 2014

My Strippy Rags...

A brief break from the story.

I made this über cute stripy rag quilt yesterday. 2 jelly rolls of *very* bright pink/orange/red batik and about a yard and a half of *very* bright pink flannel cut into strips.


Super, super easy to make. cut the flannel into strips the same width as your jelly roll (2.5" in this case.) Sandwich the flannel between the jelly roll strips (wrong side out of course) and sew them straight down the middle. I used the jelly roll prints in the order they were on the roll because I liked the way they were laid out there. Also, its the same on the back as it is the front, since I did 2 rolls. Then sew them together with a 1/2" seam, and sew around the perimeter with the same 1/2". You can throw it in the dryer to rag, but I washed and dried it. It takes a considerably amount of trimming because of the long strips (as opposed the cut rag method) but I like the overall look better. Gives it a rather chenille feeling.


With 2 jelly rolls, the overall size is about 22 x 40 inches (after you trim it up.) If you doubled the number or jelly rolls, or used bigger strips, you could do a much larger quilt. The nice part is...it is self quilting!

Friday, January 24, 2014

Weaving a Web...Part 2

So...Part 2 of the story goes like this...

After I took the class in Poway...I didn't do much for several months. I felt a little intimidated. A little overwhelmed. Everyone's art was so intricate. So perfect. Mine felt...like I was finger painting. I did a lot of other things in the mean time. While we were in Japan, I had gone on a wild binge at a craft store. One of my finds was a foam Kumihimo loom. I was familiar with Kumihimo as I love all types of fiber art. I started playing with it a bit, and got totally engrossed.

Ribbon Yarn and Satin Bug Tail Cord, 3-wrap with a magnetic clasp.

I started cranking out braids. They work up pretty quickly, and you can use any kind of fibers.

Satin Bug Tail and Leather Cord, Magnetic Clasp.
You can do anything with them...necklaces, bracelets...even pens.


I am working up a bunch of new designs as we speak. I seem to have only one problem. I am making all this really cool stuff...and I really have no idea, or time, to figure out how to sell it. So I have boxes of finished "things"...and I keep adding to them.

But the story doesn't exactly end here.

Thursday, January 23, 2014

A New Start!

Well seriously, it's about time I posted something!

Between school and keeping up with the house, I've been a bit lax in my webbing here. And in all honestly, I've found myself caught up in a few game apps that have eaten far too much of my time. But, I'm working on that. Replacing games with my newfound love of Zentangle®.

In May, 2013, I started out with a book, some pens and paper...

Started from Day One in "One Zentangle A Day" by Beckah Krahula

I kept going in that book, not feeling very confident in my work...


But it was better, at least to me. I guess we all have to start somewhere. In July, 2013, I took a beginner class from Suzanne Wilka from Tinkered Art (http://tinkeredart.blogspot.com) at a shop in Poway. (There are no Certified Zentangle Teachers closer than an hour to me...so this part is a bit of a challenge.) In her class, I got a little more confidence.


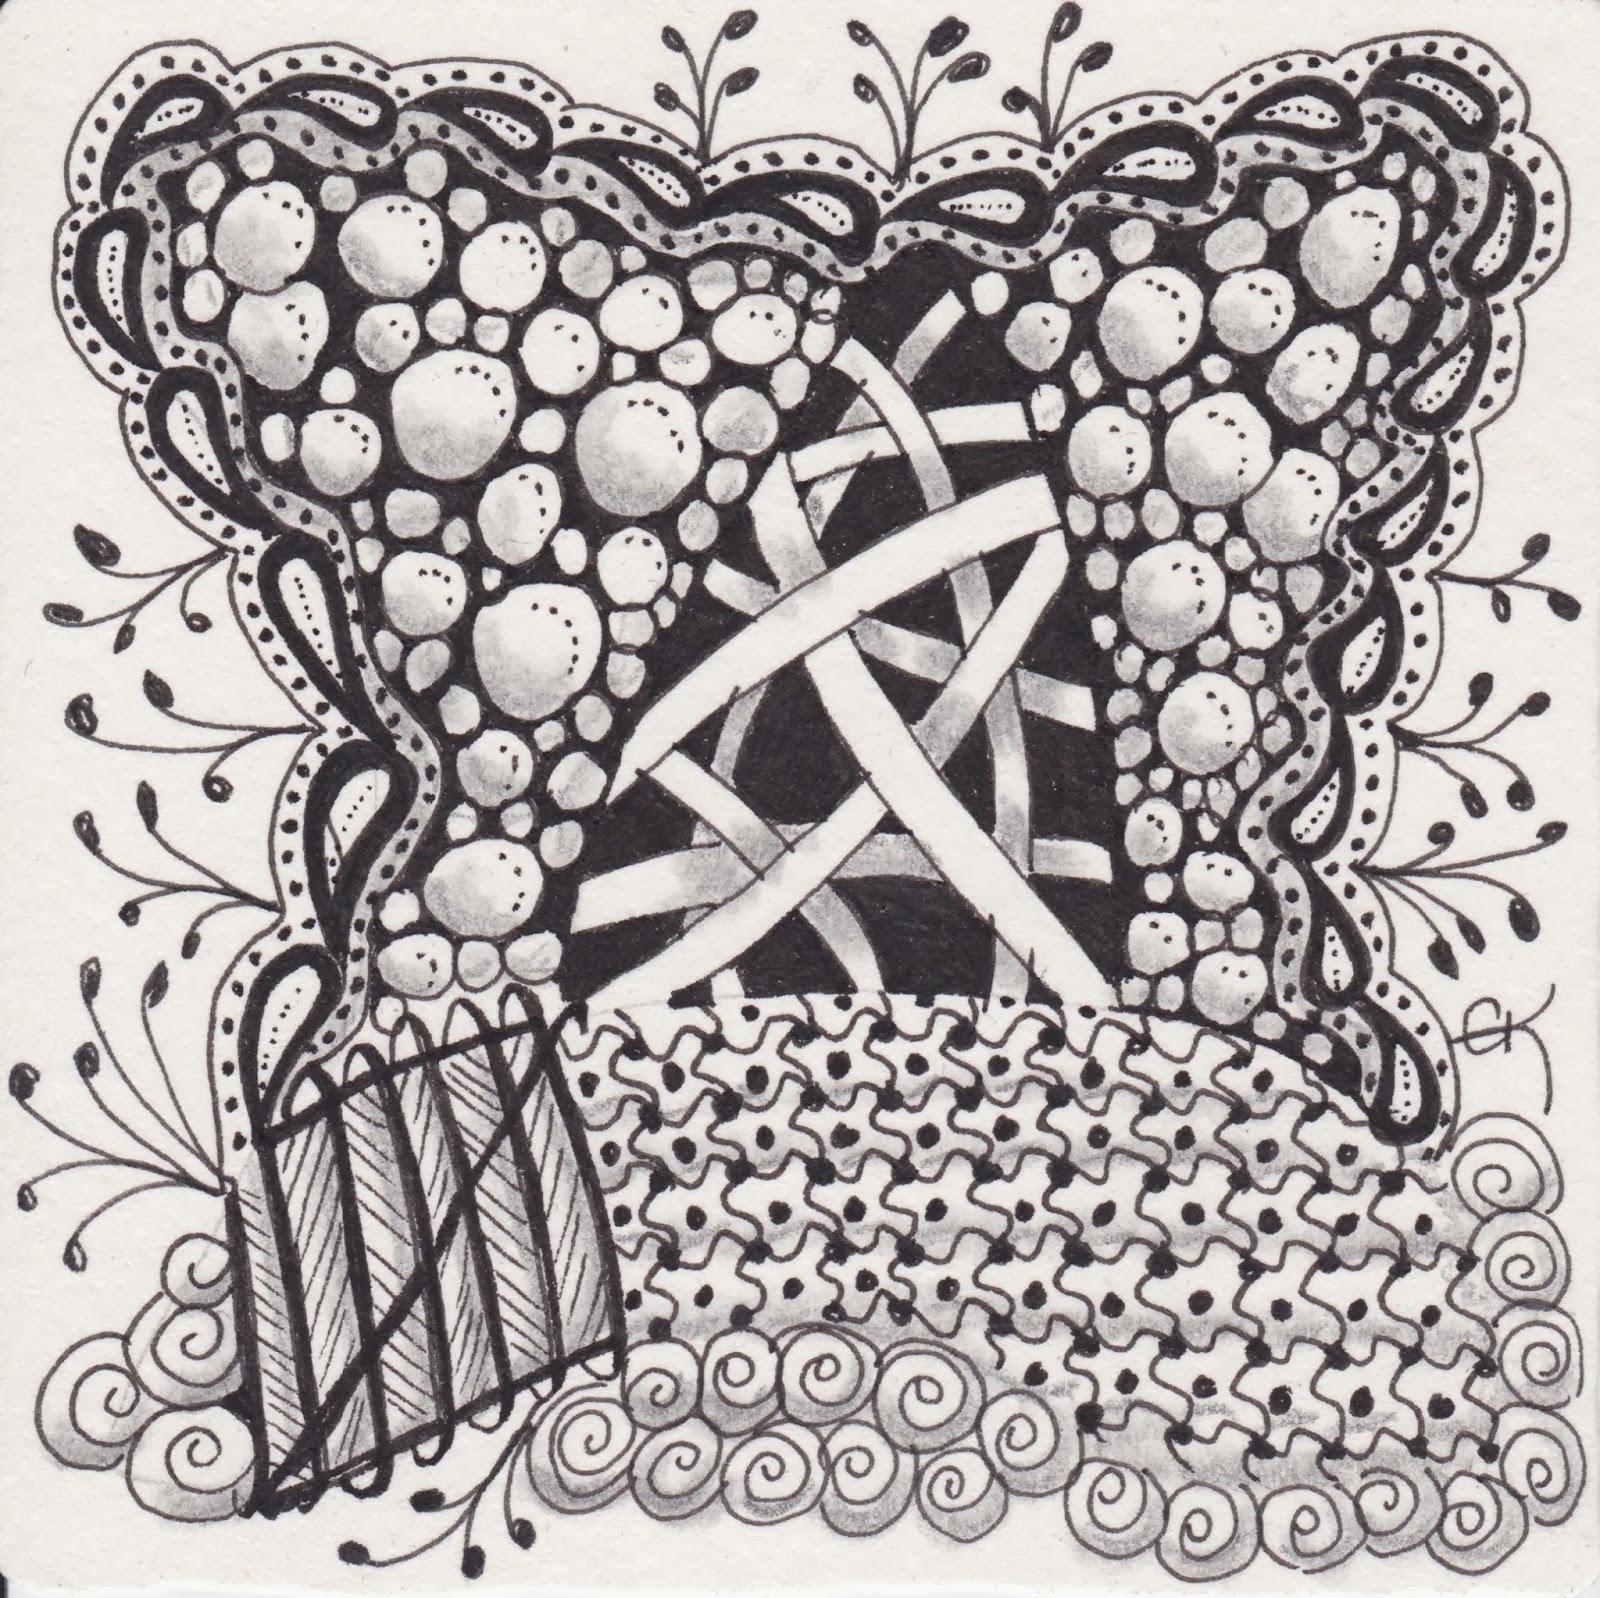
And started to see improvements, at least to me.


So then school started. A five class load left me little time for anything. But wait...Part 2 of my journey starts soon!